Translate

Wednesday, January 18, 2017

More Interesting or Egregious Attic Photos

What is the high end of what we can achieve with Norwesco RV038 roof high vents? For this conversation, start out seeing a real limit. Wasps ruined the small space between screen and hood, of this one.


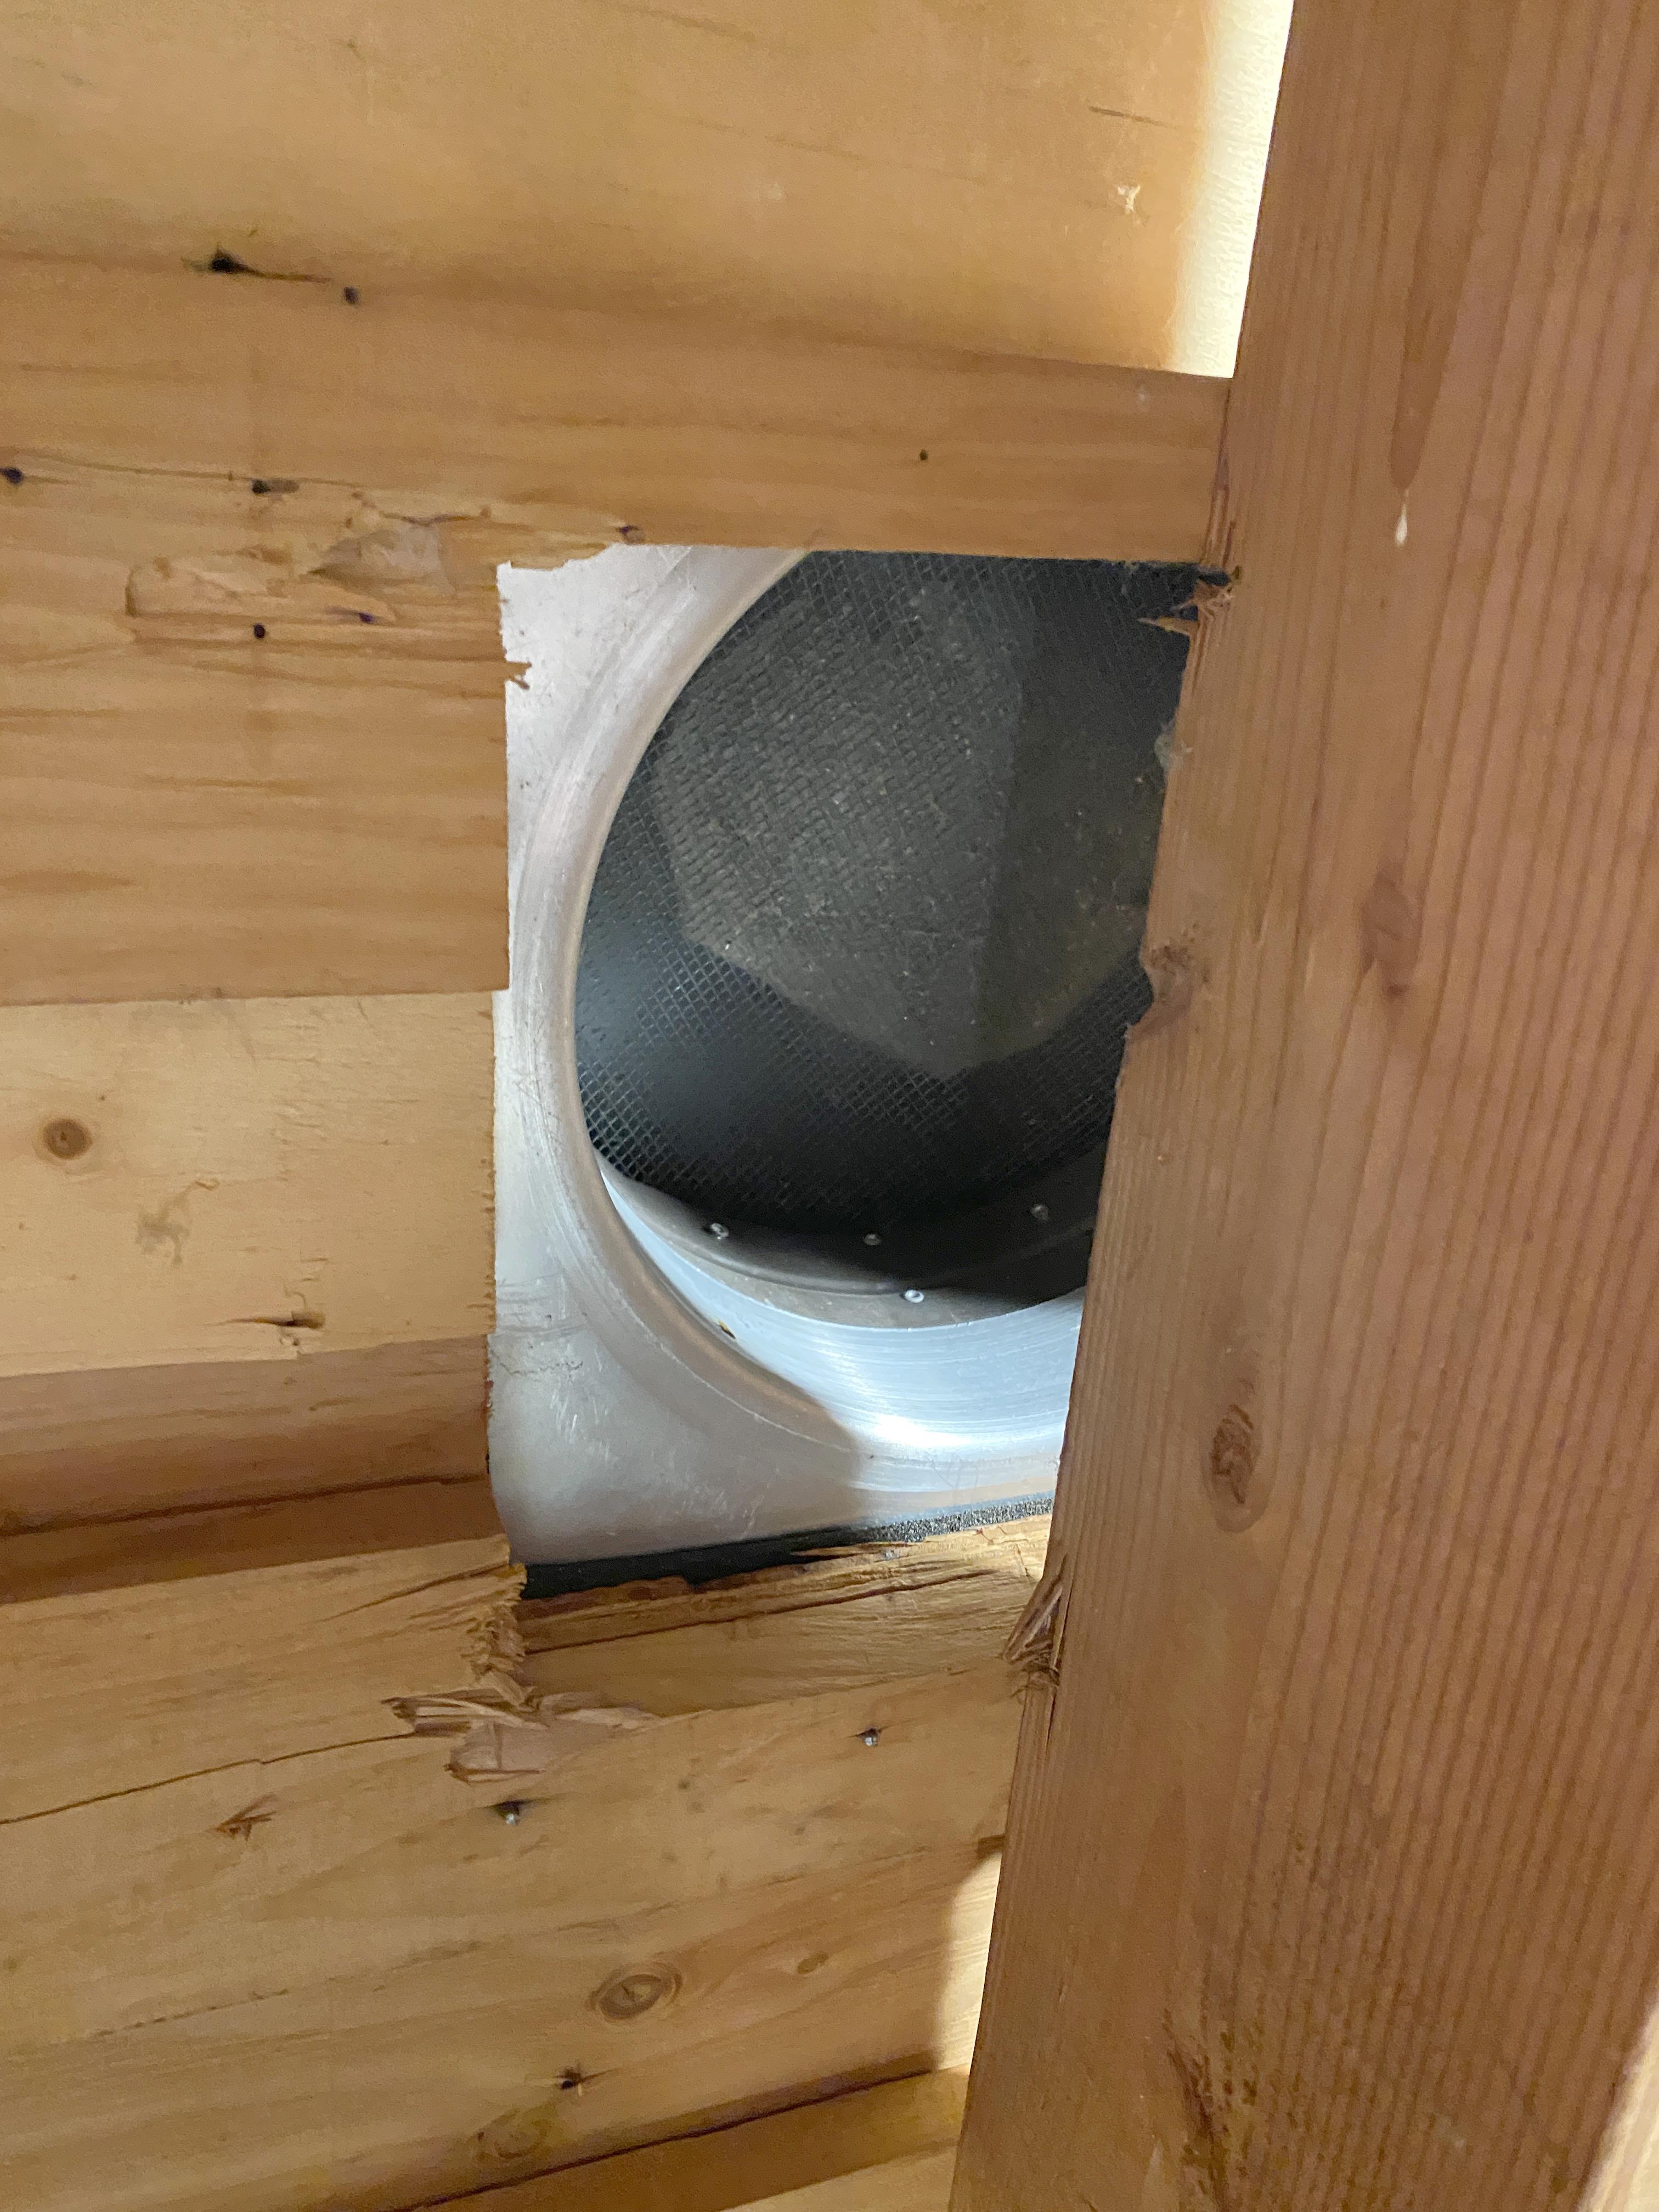
I wonder what this means, to this possibility . We are reminded that RV038 may be fully disassembled from above, a plus. I am obliged to go back to my customer, to offer cleaning of his vent.


That customer did not wish for repair of this bath fan roof cap. A flex duct end had been positioned below the roof paper, and the fan never developed enough force to lift the cap flapper. Children grown. Fan not needed.


Look at this concentration of soffit vents at the base of a cathedral ceiling over the home grand staircase.


Here is one of the roof joist bays of that cathedral ceiling, open to the attic. Outside air entering the soffit openings is as likely to flow under the silly ill-fitting R19 batt, as over it. The ceiling is not insulated.


Here I have taken down a T12 two-dead-bulb fluorescent fixture in a walk-in closet.
Remember: tubes were black.


To wire the fluorescent fixture, detachable sides in two can lights were - - detached. Where the fixture roof sagged from two screws, this left large openings from the closet to the attic, with conditioned air well-enjoyed by spiders.


Where I replaced the cans and fixture with RACO 175 junction boxes and wonderful Nicor DLS10 LED disk lights, I could insert a very-wonderful Fakro LTK 22/47 ladder between. Note RACO 175 junction boxes ringed by drywall cut from the ladder opening, sealed in and texture-matched with my flexible grout .


LED disk lights are so much brighter, such pretty jewels, that will serve on forever. Brightest-possible light is wished in a closet.


A home inspector barely managed to arrest a bad fall, hanging onto the truss elements at RHS, making for that distant furnace pad. There were things to be fixed, identified in the inspector's photo report. Strange trusses missed connectors that might resist collapse roll-over if flimsy OSB sheathing, weakened at large high-vent cutouts, should buckle in a high-wind event. One could not safely get to the attic furnace. The inefficient home with crummy HVAC ducts in attic and crawl space effectively not insulated, needed two furnaces.


I made it to the furnace pad OK, not trusting the springy OSB for hanging-on, in a foot thrust to the revealed 2x4 bottom truss element. I swung along that RHS truss line. I expected to find no insulation under the 30 sq ft furnace pad. Instead I found this. Pad framing is perpendicular to trusses, and batts within that framing rest atop truss bottom elements, out of contact with drywall and of no value. How shameful! Who would not understand this?


I got home safely, 63 miles round-trip and most of a day invested. I offered clever blocking of truss roll-over, and a 200 sq ft strong plywood-decked pad, insulated R49, bridging the access hole and a jacked-up furnace, for modest $1250.  I never heard from the mean realtor representing the seller and wanting cheapest repairs. 


Tuesday, January 17, 2017

Invent Phrase Attic Ventilation "Aperture Box"

I intend that aperture box shall be thought of as a large structure admitting air flow to an attic exhaust fan, with a low-resistance and easily serviceable screen of dust-laden air. See if my prior work in this is detectable, with Google search " attic ventilation aperture box ." I hope to find my invention of the phrase in the report of work in my little sister's attic:
March 18, 2016:

To Prep Or Not To Prep

Summarize gable ventilation here. 


In a bungalow attic with little soffit ventilation, rely on forced flow of an AC powered fan, out a  South gable, for Summertime attic cooling. For best use of a too-small gable vent, remove its fine screen. Guide air flow to the gable louvers with angled lumber. Rely on a large screen over the fan inlet to keep out bugs. The screen of maximum size will not much obstruct flow, and will be easily cleaned of carried dust. Seal all against fan bypass of discharge to the outside, and of critter paths. This stackup was not trivial.

At the Google search, I find among images, many of the graphics of my sister's attic, but through eight search pages, do not find my blog post.

I find no relevant patents.

I find:

Common Box Ventilation Unit Advantages | Roofing Companies Dallas 

and this roof detail:
"Box chimneys" enhance chimney effect natural draft.

Draw from a cooler, low area of an attic?


I recall similar box chimneys or vent risers, in Denia, Spain, 2015:


In this Google search:
I am at the top of this search, seemingly with original use of the phrase.


An "aperture box" will be at the bottom or beginning of an exit path. If that path is through a chamfered inlet to forced or natural draft below roof sheathing, imagine more detail:


This is a better high-upon roof static vent (not powered). An inlet screen is serviceable much like that of a clothes dryer, more effective with low air velocity. The red-dotted structure is a spun-aluminum roof penetration adapter, a layer of shingles below the minimally-tucked roof cap. The roof cap is a serviceable rain cover.

Motorize this with a brushless DC fan perhaps solar-powered, at either the size of the roof penetration, or at larger size in the aperture.

What is the joy in having vents, static or powered, that are serviceable from atop the roof. On many homes, roof access is very dangerous. Prefer service access in the attic.

Extreme Examples In Roofing

Photos here are from the job that is the basis of this post of October 30, 2016: Mandatory Attic Access Walkways .

Where a builder failed to insulate much of the attic space in a two-year-old home, other faults were observed that express extremes of construction error.

I find much fault with this careless and dangerous cut-in of a roof high vent


This is ordinary 7/16" OSB employed as roof sheathing. Where such sheathing is of the least quality and cost that a builder is permitted to use, an awfully-excessive and careless cut for a roof high vent is a great compromise of roof integrity, as a stress riser. An opening larger than the vent perimeter is yet-worse by saw cuts that go far beyond corners. Where stress risers at adjacent vents are aligned, who would say this could not speed roof collapse in a high-wind event?


The served roof high vent is an inexpensive Famco FA50, with 50 sq in screen net free area. Where a pipe 8" diameter could efficiently feed this vent, the sheathing cut is seen as very foolish. A neat 8" hole in sheathing is not likely a stress riser at all.


This is the FA50 manufacturer illustration .


And, here is detail of dangerous vent misalignment with the sheathing cut. Perfect alignment is unlikely, and this is the worst I have seen.

At vent base I see staining from to-be-expected leakage, that must increase as a tar-only seal degrades. 

More important, someone walking the roof below this vent might break through the unsupported  shingle slot about 5” wide, with severe injury.


Now consider the installation errors in view of the prior blog post:
Roof Caps For Bath and Kitchen Exhaust Ducts 

A new-home roofer carelessly left possible tragedy for the known home buyer. The builder might ultimately be at fault, certainly failing to represent the buyers interest in this and other matters. The manufacturer and relevant building codes too, are at fault; and let us propose solutions from this direction.

Propose a better static roof vent, NFA 50
Look back in this blog:
http://energyconservationhowto.blogspot.com/search/label/Attic%20Ventilation 


Land here:Slow Progress In Solar-Powered Attic Ventilation

Find that inspiration of roof vents with an intervening roof penetration adapter, came from wishes for quite-large roof cuts for powered attic fans, say 12.5" maximum diameter. 
Re-post here:


The simple adapter plate is set atop roof membrane, sealed at top to the roof membrane. All involved lower shingle courses rest on the adapter plate.


Fan electronics are serviceable/ swappable, without impact on roof sealing. A bug-blocking screen will get fouled, and may be serviced from the roof as needed. Good fan aerodynamics include smooth draw through a bellmouth. If fan blades of larger diameter than the roof cut are better, let the fan reside below the flare or bellmouth. Let us get over treatment of attics as inaccessible trash pits as treated by the Solaro crew.

For an 8" static vent, let the roof cut be 8 3/8". For a 12" duct of a large powered fan, let the roof cut be 12.5" diameter. Bring air to the roof opening via a bellmouth and an Aperture Box.

I will be back to complete this post. In my next post, create a searchable resource in the invention of "Aperture Box."

Sunday, January 15, 2017

Roof Caps For Bath and Kitchen Exhaust Ducts

I want these things in the roof cap of a bath or kitchen exhaust duct:
(and I want them in any roof penetration)


  1. There is no compromise of two layers of sealing against roof leakage in water down-flow from the roof.
  2. There is no possibility of siphon action, with leakage from water flow driven upward on the roof.
  3. There is back-draft protection at the roof, that can not mechanically jam.This is also effective protection that small pests do not find refuge in ducts below. Design of the back-draft protection shall ensure materials don't degrade , free of service needs for minimum 25 years. Jamming open with excessive grease carry in kitchen exhaust shall be warned-against, including provision of maintenance procedures.
  4. Screening of maximum 1/4" mesh keeps out larger pests.
  5. Materials shall serve without failure of barrier functions for fifty years minimum.
  6. The cuts through roof sheathing and shingles must be of minimum size matched to that of a served duct.
  7. Positive means shall assure that a cap is not misaligned with roof cuts and served ducting in a way that compromises flow capacity, structural integrity and safety of the roof, and water-tight integrity.
  8. The cap screen, body interior, and the back-draft protection shall be easily serviceable from the roof, without compromise of watertight integrity.

I will now detail innovation in which all of these wishes are achieved. Readers should appreciate this for the fact that these wishes are not always achieved, especially those of Items 1, 2,3, 6, 7 and 8.

Suggestions and background here are based on ten years trying always to do better in each new installation, and are abbreviated from a photo album summary more-instructional to manufacturers I wish to influence. Where I offer invention, I intend always to prove existing practice and to fully disclose details, to ensure free availability to all, not allowing a competing patent.

Imagine a better way to cap a bath or kitchen exhaust duct at the roof, with a flow-check flapper upon an intermediate “penetration adapter.” The penetration adapter seals against water flow down the roof, superior to a one-piece cap. The adapter demands less release and reset of surrounding shingles. The cap, a powered fan or any other roof device needing roof penetration, serves only as a rain cover of the smallest-possible, neat hole cut through roof sheathing.


Shown is a 6” Famco roof cap, BK6BK. With an 8" dia. cut of the base, I have discarded the factory center, a 2" length of 6" pipe crimped into the plate, sealed with a bead of caulk. My spun-aluminum penetration adapter has same 6” ID, now bearing the Famco cap's flapper and silencing seat.


I imagine very-inexpensive stamped penetration adapters with minimal height of the formed throat. The flapper and a pipe of length about 1 1/2” as a mass-produced assembly, may be a cap about or crimped within, the adapter throat. Call the plate and its formed throat perhaps 1 1/2" tall, vent plate. As a separate piece, name a  flow-check cap. A two-piece assembly with flow check must not allow siphon action at its joining annulus, and the check must be restrained to assuredly fall and seat with no flow.

Here is my plan drawing for a job in progress with a 6" kitchen exhaust duct, employing the modified Famco cap of the above photo. See provision of a 2" circular tolerance for misalignment of cap and roof cut centers. This scales to all warm air pipe sizes. See that caps may be bigger than pipe size, with advantages in alignment and coverage of excessive roof cuts. 6" and 8" caps serve most needs. Oversize advantages are diminished or lost where the pipe alignment vs. the cap is fixed. Where there is no on-roof feature to engage a pipe, obstructive misalignment is invited.


Please visualize topside completion with this Summer 2016 photo for a 4" bath fan duct, with an injection-molded cap.


Here is an underside view of that cap, Norwesco RCV4 . One should wish for tolerance of some misalignment between the cap center and the smallest-possible roof cut, but an oversize square below a flapper-check here is not as helpful as size of the cap might permit. I suggest there should be about 2" diametral clearance between pipe and cap paths in which there is no performance penalty, in placing the cap to suit the shingle pattern.


Where the cap bore is about 3/4" above the roof bore in this installation, I think there is some added flow resistance.


Where Norwesco and Famco 4" and 6" plastic caps without stem are nearly identical and with a lot of misalignment potential, find argument that their flapper function should be transferred to a roof penetration assembly. Enlarge the crown and the opening of the base of their caps as in steel Broan 636 (up to 4" ducts) and 634  (up to 6" ducts), and their cheaper knock-offs at Home Depot. With this innovation, offer convenient duct joining means for the Broan steel caps. Get rid of jamming-prone rectangular flappers.


See here better trial placement of a duct for a pilot hole of a 4" bath fan duct.


Where I can now adjust the lengths of duct pipes, I am free to make a large shift of hole location to best align with shingles. An extra hole a short distance down-roof is of no consequence.


The added crossing 2x4 that accept cap mounting screws are not in my way, and help in the strapping of the duct. Wood blocks to drywall ensure worker force upon ducts does not threaten the friction-only elbow coupling to the penetration adapter,


The topside completion photo for this job is the third graphic in this post. With no constraints of underside arrangement, 1/2" plywood only, The Norwesco RCV4 roof cap top edge was tucked under a shingle course.


Here, accepting a pilot hole centered between skip sheathing boards, the tuck under a shingle course did not work out. Remember, the roof cap is only a direct-rain cover, in combination with the roof penetration adapter.


In the photo above, see steel/ EPDM washers cannibalized from inappropriate roofing screws. I shall never need more than 1x backing under plywood roof sheathing. Use 1 5/8" deck screws with independently-purchased 1/2" OD steel/ EPDM washers. Choose washers Made In USA, Aztec Washer Co., Poway, CA. And, know this choice is offered through chance, not through manufacturer and re-seller diligence. Read on, below.


Wanting only the washers, I first purchased qty 100 of a too-small 3/8" OD washer from Raw Products, via Amazon.
Neoprene EPDM Washers 18/8 SS - #8 (OD .50) Qty-100
 $10.74  |   Qty : 1  |   Sold by Raw Products Corp 

$10.74 wasted. What next? I'm lucky to live in metro-Portland, Oregon, large-enough to support quite a few fastener store-fronts. At Oregon Bolt, Inc., persisting by phone I found admission  they had qty 300 of 1/2" washers like those on also-sold 2" roofing screws. I bought qty 100 of washers maybe a bit thin, identified as 15BW050STL, 8 X 1/2 BONDED SEALER WASHER AZTEC H. 

I can not select this washer at the Aztec web site . I will hope that anyone may find 1/2" gasketed washers, somehow.

Here are two more variants of 4" bath fan roof cap placement, allowed with penetration adapters. Cap placement must cope with existing or new holes, independent of shingle patterns.


Now record the Famco BK6BK cap installation on this roof, for exhaust of a kitchen microwave oven, in place of an unsuitable static vent. Here is the static vent, with poor proximity to a plumbing vent.


I must employ this roof cut, placing the Famco cap as far as possible from the plumbing vent.


Here is trial placement of the flappered 6" roof penetration adapter.


The better roof opening is quite long, requiring several "shingle bridges" above and below the penetration adapter. Add plywood strips below the roof sheathing to strongly engage 1 5/8" deck screws that retain the roof cap.


Here is the topside completion of the modified Famco cap.


Here is the efficient and secure 6" duct, installed in a now nicely accessible attic.


Here is the actual cap arrangement employing three shingle bridges, and the flappered penetration adapter. The elongated opening could have been mended using a one-piece cap, but there is more-assured mending of found shingle hacks and excess opening of the roof sheathing, before the cap is placed. In a new installation shingle and roof cuts are smallest-possible and are simple circles perhaps cut with a hole saw. In a re-roof the penetration adapter is more-easily laced among shingles, with unambiguous trimming needs, then the rain cover/ roof cap with no trimming of shingles, all with accuracy.