Crawling eight feet into this small attic space to connect bath fan ducts will be a challenge. There was no access and I must invent and build my own hatch cover. Employ this opportunity, to invent a well-insulated airtight hatch cover that drops out of the ceiling. With ducting and tools pushed ahead, I must not share space with and perhaps break the cover.
At 3/11/2025, at last edit that claim about safety with 7:12 roof pitch.
This is the Search Labs AI result of Google search:
Generally, roofs with a pitch of 6/12 or lower are considered relatively walkable, while anything steeper, like 7/12 or higher, requires caution and potentially specialized equipment or professionals.
At 7:12 pitch I was roped and harnessed whenever without secure piping-above or roof-above constant hand holds. The danger with a shift of balance not restrained, is evident. It is good to know pitch reliably measured with pitch gage overlay on a photo. I do the overlay in Adobe FrameMaker. I hope you can do likewise somehow.
Finding the best ceiling cut is error-prone. Excess demolition is resolved with an easy plaster patch. Easy if you have learned to employ Scructolite plaster, and other patching techniques. A fifty pound bag is perishable and a burdensome investment for occasional patching. I apportion a bag to a couple-dozen airtight plastic jars, then lasting indefinitely.
Here is the prepared opening for the invented hatch cover, with neat plaster applied up to steel-angle edges. The outer frame is a tight-fitting part of the hatch assembly and is pinned in place at best centering in the edged rough opening, by wood shims.
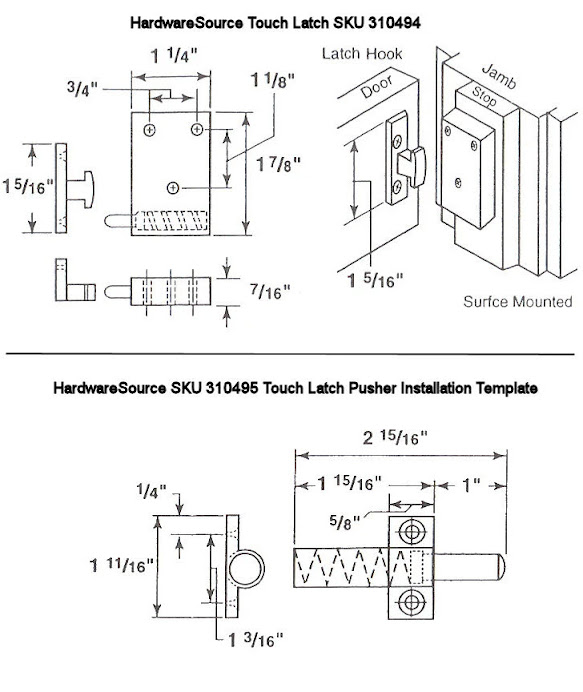
Here is plaster smoothed with my tough flexible grout, and the inserted hatch cover. The cover is securely held by two pull-push latches of European origin, purchased from Fakro USA. I have trimmed excess dimensions of the cover face, GP Densarmor drywall, to overall clearances of 3/8".The cover is not heavy, but be under it upon a ladder while attaching or detaching.
Here is the rough frame, a maximum of found space between ceiling joists and 1x3 that cross the joists and support the plaster lath.
And here is the assembled cross section with latching.

The latch pair was purchased from Fakro USA, where it is employed in several families of Fakro attic ladders. The eye bolt is found to be unsuited to its job, where movement at the nutted end is not linear and the latch slot it engages is too small to accommodate its movement arc with the bolt near-vertical. I conclude that the pull is intended to be small-diameter wire rope. There is no need for the pull to be rigid, of beefy 3/16" OD. By measurements and trial & error, know that the pull center must be 2.5" from the latch edge. Enlarging the slot for the bolt is a workable but poor solution.
At 6/9/2024, I have ordered this wire cable set that should serve better with the Fakro latch if employed in a current attic ladder project.
In fact for the attic ladder project, I think there will be a better latch,
Let every project be a shared learning experience, and a ready resource for recall of my own learning.
My attic access job continues with achievement of the customer motives of fixing dysfunctional bath fans.
The bath fan with bad ducting must be replaced, to achieve proper ducting. Choose Panasonic FV11-VQ1,
The found fan discharged through this:
Except that flow is entirely stalled in a squirrel-cage fan with an immediate 90° bend, flow resistance is not much different from the new installation, just losing all velocity head of developed flow in a 4" pipe, K = 1, resistance beyond a bend.
If K = 0.5 for a 90° entry bend and K = 0.15 for a 30° entry bend, then add K = 1 in either case, the flow resistance comparison is not telling.
Here is the completed new duct installation, an elbow set to 30°, a two-foot length of smooth pipe, and an elbow mating with a roof cap through an about-60° bend. Not much resistance, and no flow stall.
I always employ a Roof Penetration Adapter for a through-roof duct. I accomplished this tuck with removal of only two roofing nails.
On occasion, as here, the roof cap can't be tucked under a shingle row for appearances-sake. No matter. The cap is only a rain cover.
Know that discharge through proper new ducting with 30° bend, is strong. There was no noticeable flow from the now-scrapped Broan fan. Blame the foolish elbow placement, and foolishness of all bath fans vs. thoughtful always-learning design of Panasonic fans. I can readily call a Panasonic technician in New Jersey, at 866-292-7292. I have done that here, reporting (again), that fan installation should always be as retrofit. No serviceable appliance may be captured, demanding demolition for replacement. Well, that is what I believe, but I don't find confirming building code. Still, to trap a bath fan above drywall is really mean and stupid. Panasonic should presume installers will insert the fan body though a drywall cut prescribed by a template in the fan packaging, body flange then below drywall. The Panasonic instructions badly mislead all who will suffer consequences at a future replacement. See that graphics are those of a compact ceiling, not attic, fan, for all fan models. The compact fan is less efficient and should be avoided.

View the flappered outlet of the fan adapter assembly, before insertion of the fan body
Being a Diligence Reporter
This post is a further service to my customer, giving a succinct, durable record of interesting query and innovation in his service. Please read more upon the subject of Diligence Reporting , collecting writing by Label. A blog post is not always part of the diligence. A blog post is inspired by seeing something new, discovered in the job.


No comments:
Post a Comment